Jewelry photography is more complex than other product photography. Know why? Because jewelry pieces are reflective. However, with the right equipment and technique, you can capture flawless jewelry sparkles that instantly attract target customers. Since you have clicked on this article, I assume you want to learn how to take pictures of jewelry that brings results fast. So, start reading the article and learn what equipment you need, how to use it for jewelry photography, and useful tips to get found and loved by your customers.
Here are three reasons why you must do professional jewelry photography to stand out in the competition and grow your brand.
Photographing jewelry with the right equipment is the easiest. Let’s see what tools you need to photograph jewelry like a pro.
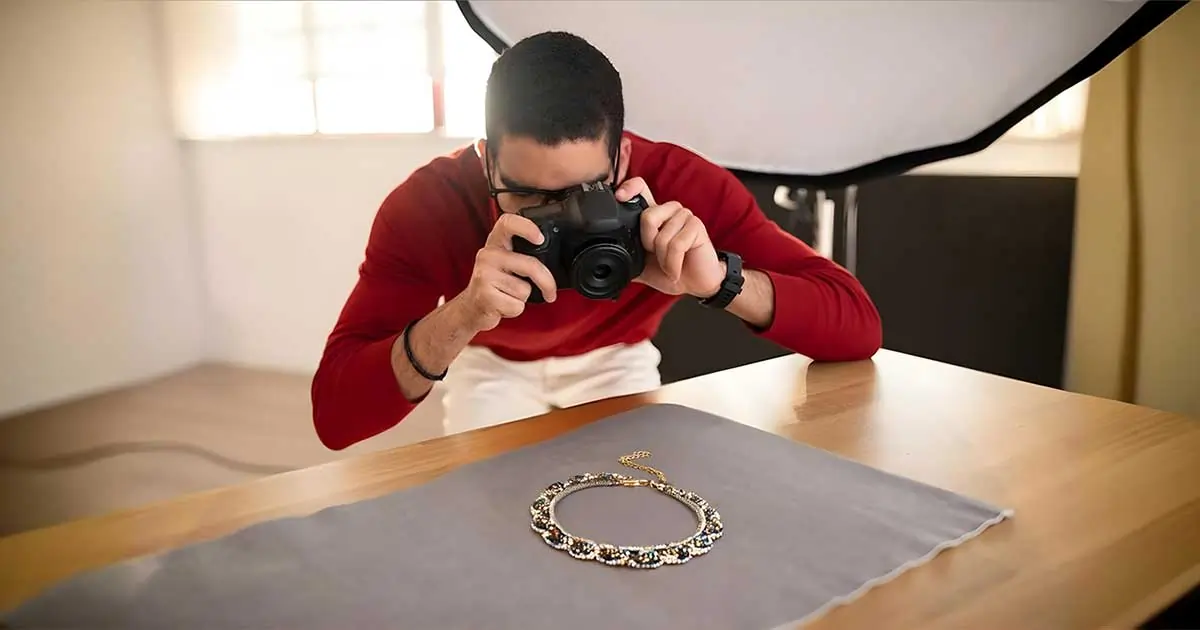
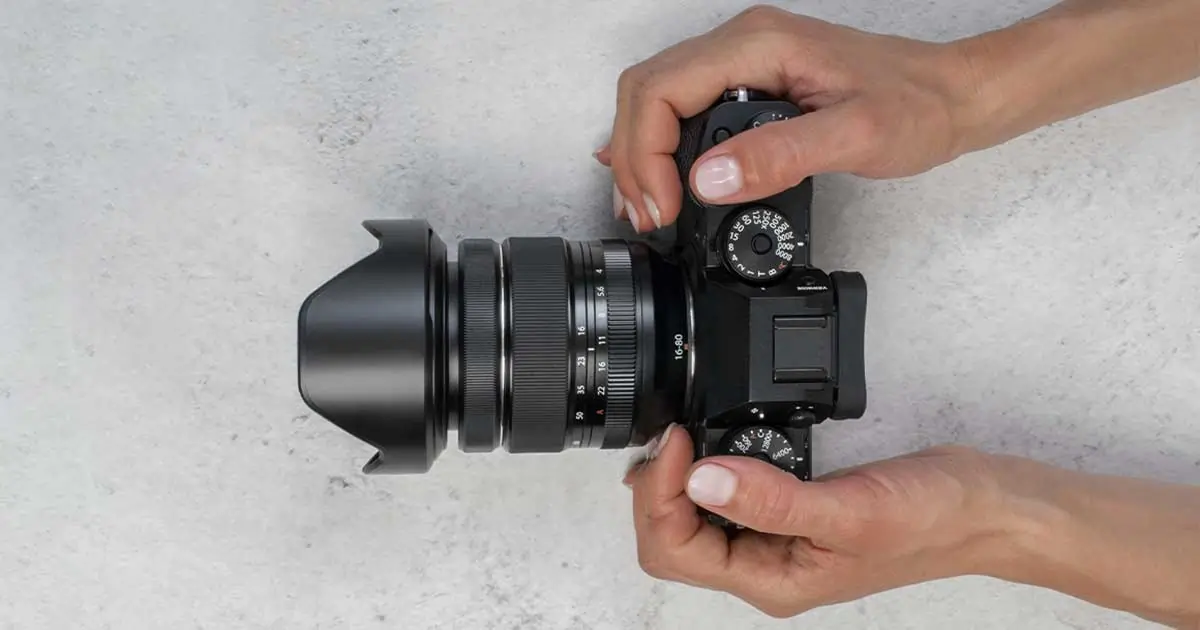
Jewelry photography can be done with phones but if you want to stay up in your game, I highly recommend investing in a high-quality DSLR or mirrorless camera. For example, the Nikon Z6 mirrorless camera has a 1/8000 shutter speed with great features, high resolution, and low-light performance which is comfortable to use and best for jewelry photography.
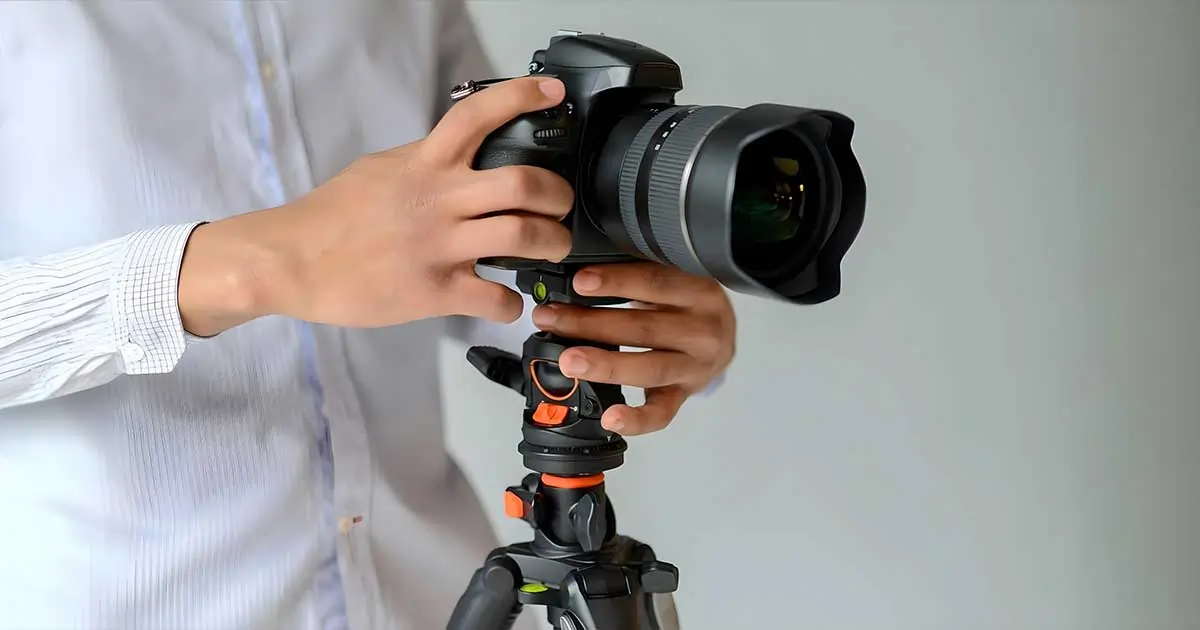
Use a tripod to stabilize your camera during jewelry photography. The speedy shutter close makes the camera shake, resulting in shaky and blurry jewelry images. However, you can easily avoid camera shakes with a tripod. You can purchase a tripod that can be used for phones and cameras and take stunning flawless images.
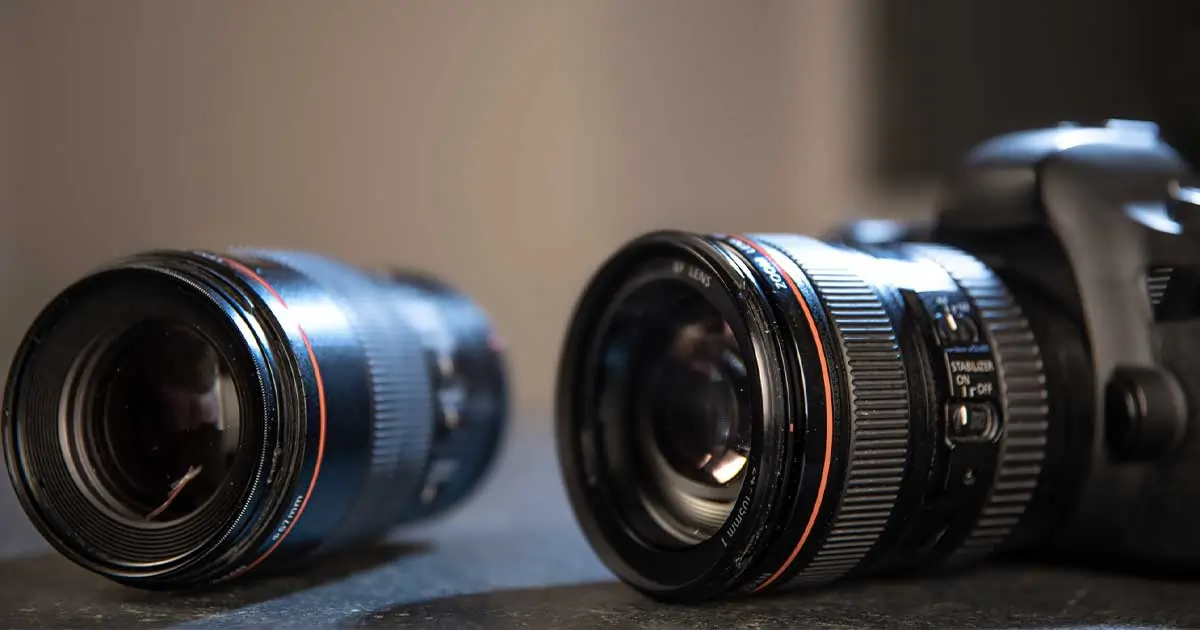
Using a 1:1 ratio macro lens is a must for capturing precise details of a piece of jewelry. The more jewelry details you can showcase to your customers the better it will capture the audience's attention and create a conversion. Purchase a 1:1 ratio 50mm or 300 mm macro lens to precisely capture every detail.
You can use both natural light and artificial light for jewelry photography. However, ensure every image looks natural regardless of the light sources.
If you are using natural light, choose a well-lit room and set up the setting beside a window. Take the images in the morning or afternoon (when it is not at its brightest like 3 pm to 5 pm.) or in the golden hour. Avoid the afternoon time when the sun is at its peak. Meanwhile, for studio jewelry photography anytime is the best time. Just set up the equipment and take the amazing jewelry photos.
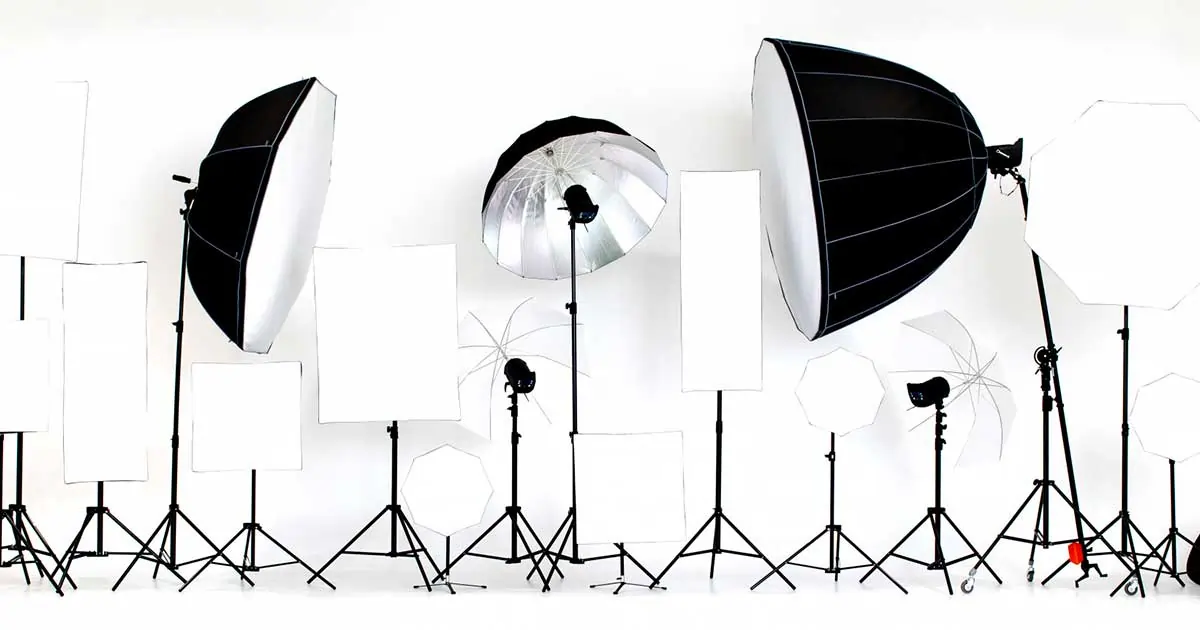
Use a softbox to create soft lights that will help you well-lit the jewelry, soften the shadows, and naturalize the jewelry image. You can find it in different sizes and designs like rectangular and round. You can use softboxes for both natural lighting and artificial lighting.
You can use white foam boards as a prop and a reflector. It is super useful for jewelry photography which can also be placed like a lightbox and take jewelry photos with it.
Since jewelry reflects a lot, using a reflector is a must. You can use a whiteboard, or white paper, or purchase reflectors like diffusion light/paper from the shop. Place the reflector in a place opposite where the lighting is coming from, ensuring the softening of the shadows.
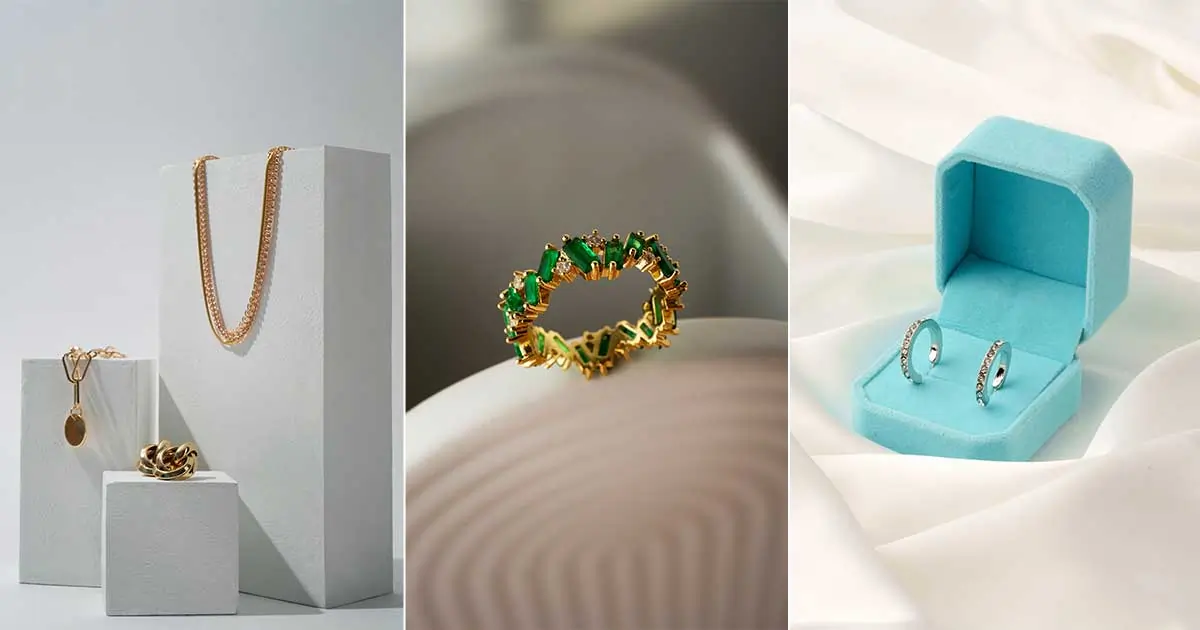
Do you need to use props for capturing high-quality jewelry photos? Why not! Props emphasize and enhance the beauty of the piece of jewelry. However, use minimum and relevant props that complement the jewelry. For example, using various ghost busts, clothing, and fabric, tiles, acrylic sheets, monstera leaves, fake plants/flowers, designed glass, and more.
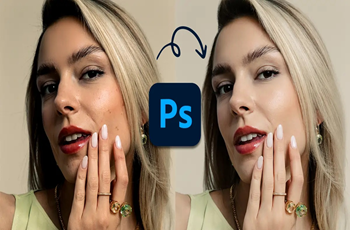
Last but not least, you need to use an updated Photoshop tool for professional jewelry retouching. Due to using a macro lens, lighting, and camera exposures, jewelry images often have harsh shadows, dull or bright colors and lighting, and other issues that need to be fixed. Use Adobe Photoshop for jewelry photo editing flawlessly and with ease.

We have come to the main part. Let’s see how to photograph jewelry with the easiest steps.
Keep up with trends by researching what your competitors are creating. See how they are engaging with the audience and making sales. You can also take jewelry photography ideas from Pinterest and search engines and try new and creative photography styles with your jewelry. For example, putting water in the mirror, placing the jewelry in the mirror, and taking an amazing jewelry image where its beautiful reflection can be seen in the mirror and water.
As I said before, you can use studio light and natural light for taking quality images.
Natural Light: If you have a well-lit room in your house, don’t hesitate to use natural lighting to make the jewelry photos look the best engaging. Place the table at a 90° angle. Position the white paper/other colored on the table as a background with a tape or clip. Place the reflector behind the jewelry to soften the shadows and strengthen the lighting. Prepare the setting with the necessary props and take the image using indirect sunlight

Studio Lighting: You can do jewelry photography at your preferred time with artificial lighting. Choose your desired room. Place the table. Set soft boxes at a 45° angle. Ensure the jewelry is well-lit. Set the setting and place a reflector behind the jewelry. Take the photo till you are happy with the shot.
Note: You can also make lightboxes with large boxes, and white foam boards, or purchase high-quality lightboxes where lighting, reflectors, and other facilities are available.

Complement the jewelry using inevitable props. Here are some props suggestions for taking quality images.
White Background Props:
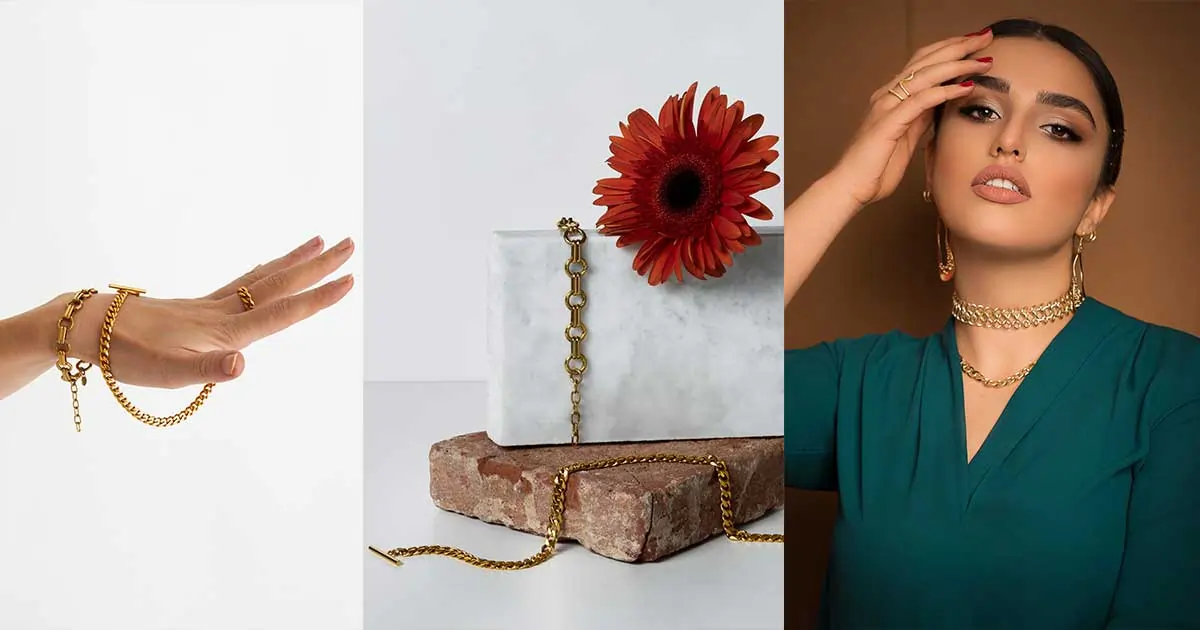
Lifestyle Jewelry Photography:
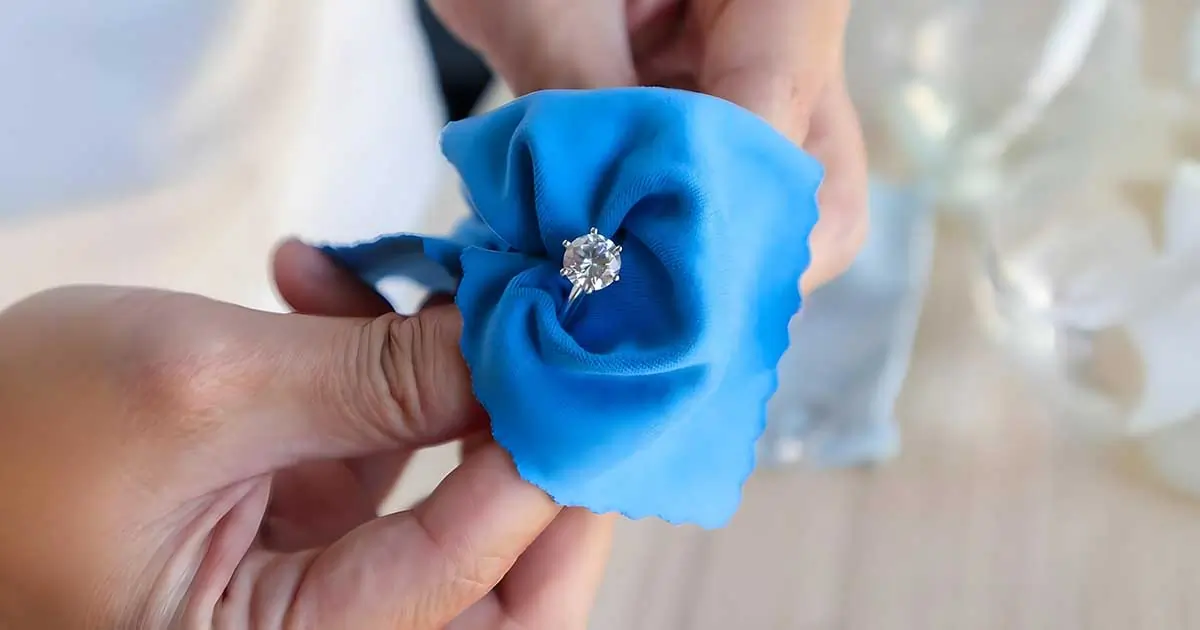
When you are done choosing light sources, and props, and preparing the setting, it is time to clean the jewelry and place it on the photography setting. The reason I kept jewelry cleaning after all this work was so that no dust or fingerprints get captured in the macro lenses.
Clean the jewelry with a microfiber cloth so that jewelry gems and stones do not get damaged. Wear cotton gloves throughout the photo shoot to ensure no fingerprints get captured. Also, clean the camera and macro lens with microfiber clothes to ensure no dust and dirt get captured from the camera.
Using the right camera settings will make or break your final jewelry image.
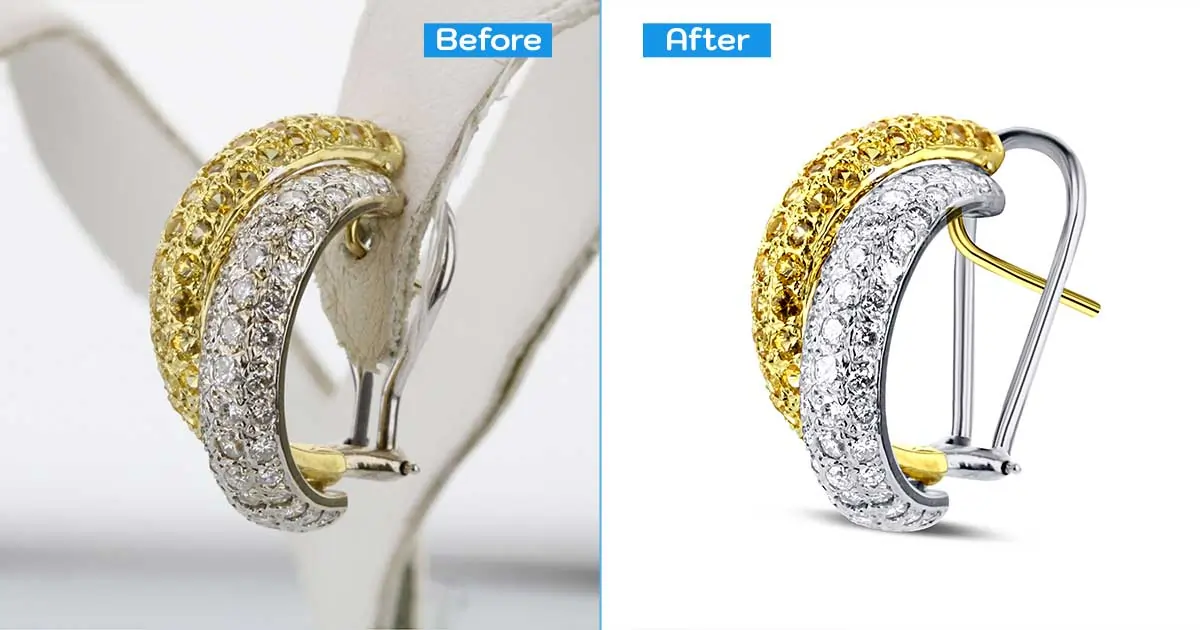
No matter how beautiful your jewelry photos turn out, it needs thorough photo post-production services.
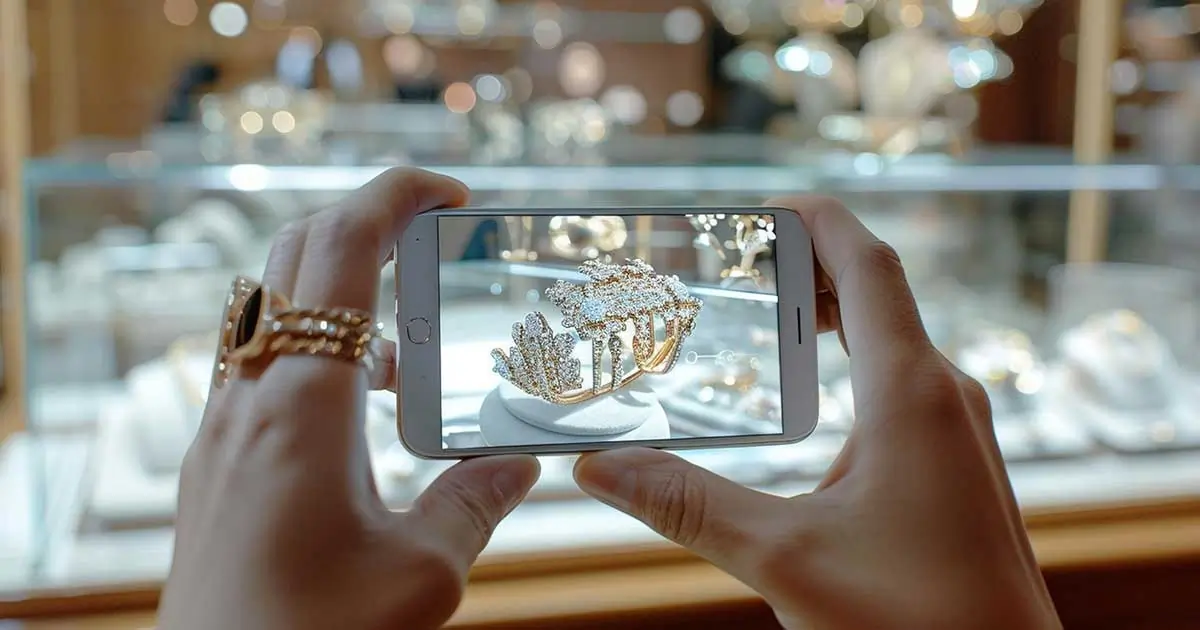
I assume you are a student or entrepreneur who started a new jewelry business with a limited budget, then this section is for you. In this section, I will explain how to take photos of jewelry with a phone using a small or no budget at all.
Here are 5 essential tips I keep in mind while photographing jewelry.
Jewelry photography is tricky but fun. You can explore new ideas and trends to capture creative jewelry pictures and stand out from others. Do not overthink about the results. Keep taking engaging jewelry photos with consistency and you will get results automatically. See what your audience is liking and post pictures following the theme and soon your audience engagement and sales will increase.
Lastly, I hope our article on how to take pictures of jewelry was helpful. Use our method to take amazing jewelry pictures with a camera and phone. However, if you need professional help with jewelry photography in Europe and retouching, we are here to help you. From photographing to retouching jewelry, we’ll do it all flawlessly and deliver the perfect image to you on the promised deadline. Our packages are affordable and the site is audience-friendly. Check out our RetPix website and get a free trial to see the image quality and judge.
Showcasing beautiful features of the jewelry, capturing the audience's attention, and creating a conversion.


RetPix, MB is a private company registered in Lithuania (No. 306112201) with VAT ID LT100015912712. We are delivering high-quality photo retouching, graphic design, and video editing services worldwide with a focus on precision and client satisfaction.
Follow Us
 English
 Arabic
 Danish
 Dutch
Dutch
 Finnish
 French
 German
 Hebrew
 Croatian
 Czech
Czech
 Greek
Greek
 Ukrainian
 Estonian
 Hungarian
 Turkish
 Italian
 Japanese
 Norwegian
 Polish
 Portuguese
 Romanian
 Spanish
 Swedish
 Russian
 Latvian
 Lithuanian
 Serbian
 Slovak
 Slovenian
 Luxembourgish